Introduction
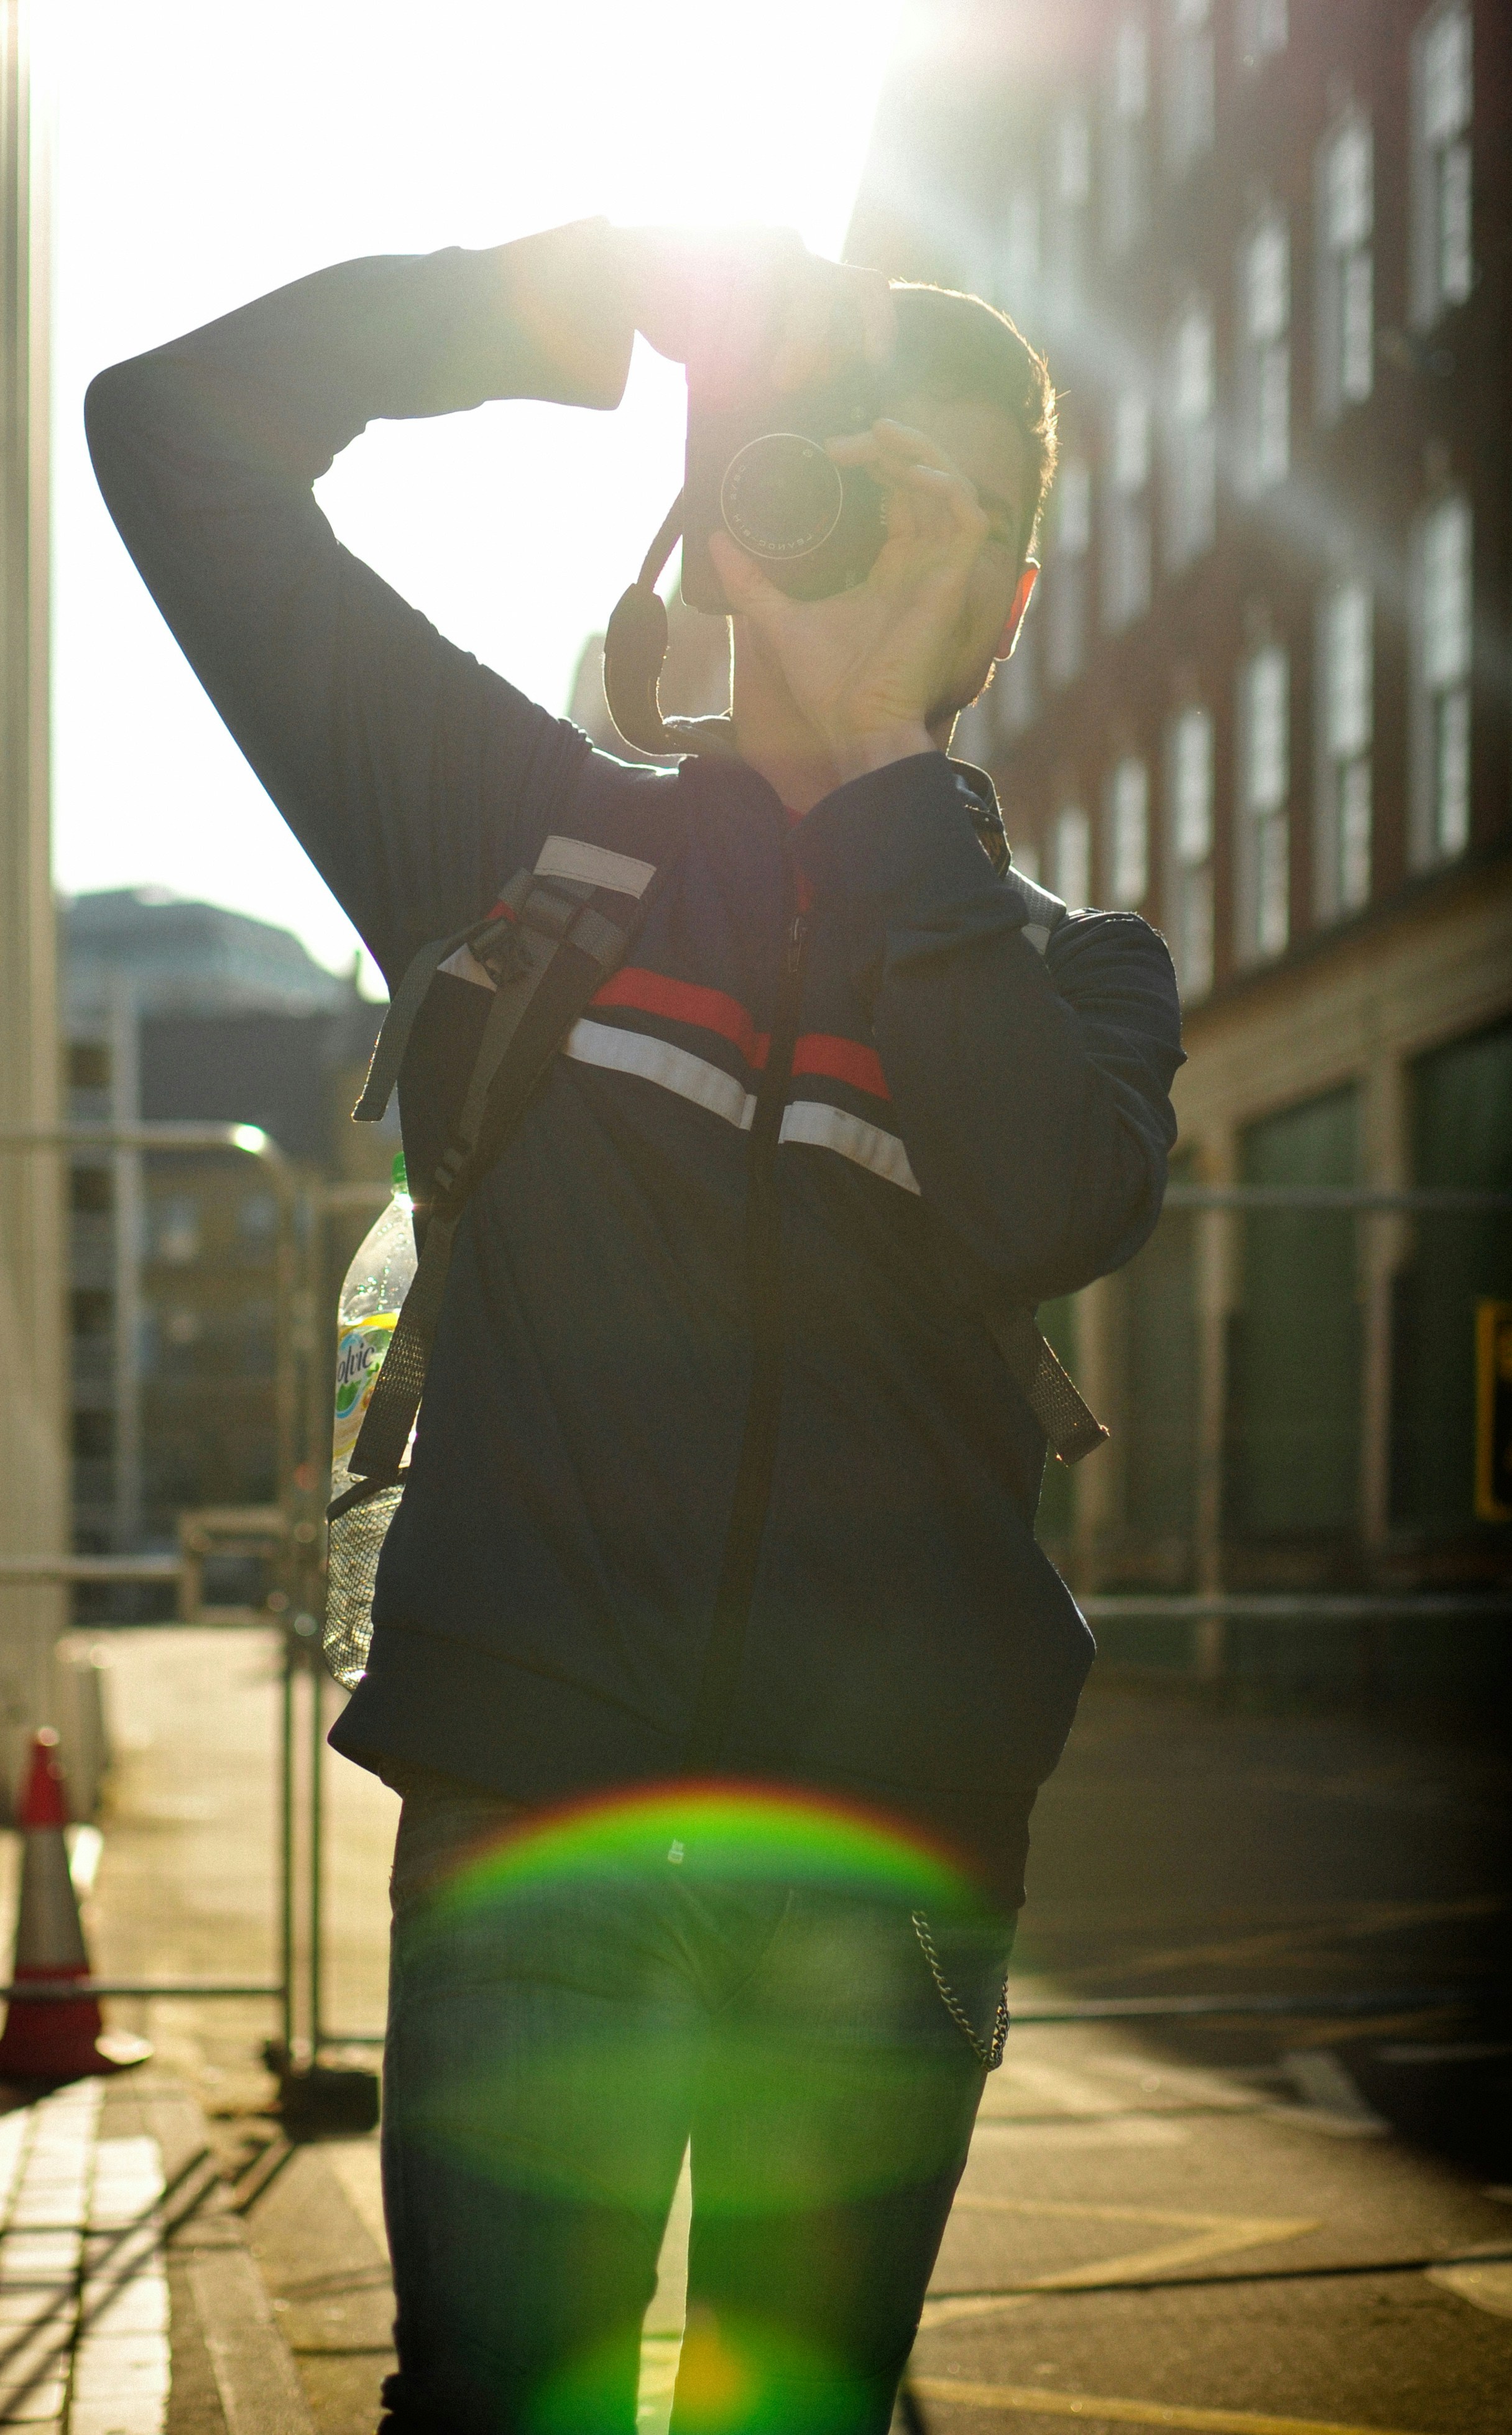
Photeeq Lens flare is a phenomenon that photographers encounter frequently, manifesting as light artifacts in images. These artifacts occur when a bright light source, such as the sun or artificial lights, strikes the lens elements at certain angles. The result is a scattering of light, which can create various effects including streaks, halos, and circles of light. Understanding lens flare is essential for photographers as it can significantly influence the final image.
While often perceived as a distraction, lens flare can also add a distinct artistic element to a photograph. It can create an ethereal glow, emphasize the warmth of sunlight, or enhance the mood of a scene. In particular, skillful use of lens flare can lend a sense of depth and dimension, drawing the viewer’s attention and evoking emotion. Conversely, uncontrolled lens flare can detract from the subject, lead to loss of contrast, and result in an overall diminished clarity within the image.
Numerous factors determine the extent and type of lens flare experienced in photography. The composition of the lens, the quality of the optics, and even the type of light source can influence how light interacts with the lens elements. Additionally, the positioning of the light in relation to the camera, as well as the settings used, play a crucial role in how lens flare manifests. This complexity requires photographers to be both aware and intentional when it comes to using or mitigating lens flare effects.
As we delve deeper into the topic of lens flare, particularly with the innovative Photeeq Lens Flare toolkit, it is essential to explore techniques that harness its potential while managing its challenges effectively. Understanding these nuances will empower photographers to enhance their visual storytelling through informed lens choices and creative applications.
Understanding Photeeq Lens Flare
Photeeq Lens Flare is a sophisticated tool designed for photographers who wish to elevate their images through striking visual effects. This software is engineered to replicate the natural phenomenon of lens flare, which occurs when light is scattered in a lens system, creating bright spots, halos, and colorful streaks. Photographers can utilize Photeeq Lens Flare to add an artistic touch to their photographs, imitating the effects typically seen in capturing scenes with bright light sources.
The software presents a variety of lens flare effects, catering to different creative needs. Users can choose from an array of optical flares, ranging from subtle and soft glows to bold and vibrant highlights. This versatility ensures that photographers can achieve precisely the mood they envision for their images. For instance, a gentle lens flare can enhance the warmth of a sunset photograph, while a more prominent effect may create a dramatic contrast against darker backgrounds, adding depth and intrigue.
Moreover, Photeeq Lens Flare incorporates advanced features that allow for customization. Photographers can adjust parameters such as brightness, size, and color, enabling them to fine-tune the lens flare effects to the desired level. This flexibility is particularly advantageous as it empowers users to maintain control over their creative vision while achieving high-quality results. Additionally, the application is designed to preserve image integrity, ensuring the final product does not appear artificially altered.
In essence, Photeeq Lens Flare offers photographers the opportunity to explore and harness the beauty of lens flare, transforming ordinary shots into extraordinary visual narratives. This makes it an indispensable tool for both budding and seasoned photographers aiming to enhance the aesthetic appeal of their work.
Setting Up Photeeq for Optimal Results
To achieve the best results with Photeeq, it is essential to correctly set up the software. The first step in this process involves downloading and installing Photeeq, which is available for both Windows and macOS platforms. Users should ensure that their systems meet the minimum hardware requirements to run the software effectively. After downloading the installation file, double-click it to begin the installation process and follow the on-screen prompts. This typically involves agreeing to the software license agreement and selecting the desired installation location.
Once Photeeq is installed, the next critical step involves configuration. Upon launching the application, users should familiarize themselves with the interface. Navigate to the settings menu to make necessary adjustments that suit individual preferences. It’s advisable to set the performance options to maximize processing speed, particularly when working with complex images that incorporate lens flare effects. Users should also enable GPU acceleration if their system supports it, as this will significantly enhance rendering times.
After configuring the basic settings, the next step is to import images that require lens flare enhancements. Photeeq supports various file formats, including JPEG and RAW files, allowing for a broad range of photography applications. Ensure to organize your workflow efficiently by utilizing folders or labels within the software to easily manage projects.
Finally, familiarize yourself with the specific tools and filters available for lens flare effects. Photeeq offers an array of customizable options that can add depth and creativity to images. Experimenting with different presets and fine-tuning settings will guide users toward achieving the desired look. Thorough exploration of the software’s capabilities ensures that photographers can master the art of creating stunning lens flare effects tailored to their artistic vision.
How to Create Stunning Lens Flare Effects Using Photeeq

Creating stunning lens flare effects with Photeeq involves a combination of thoughtful manipulation of settings and a clear understanding of the tool’s capabilities. To begin, select an image that has a strong light source, such as the sun or an artificial light, as this will serve as the foundation for your lens flare. The first step is to open your photo in Photeeq and assess the natural light present in the image.
Next, navigate to the effects panel where you will find the lens flare option. Start by adjusting the intensity of the lens flare. This can be done by increasing or decreasing the strength of the effect according to your preference. A subtle touch often results in more organic-looking flares, while higher intensity can create a dramatic effect. It is essential to find a balance that suits the overall composition of your photograph.
After setting the intensity, focus on positioning the lens flare to complement the image’s existing light source. You can click and drag the flare overlay to the desired position. Experiment with the angle and placement to see how it interacts with other elements in the scene. For example, flares that originate from off-camera light sources can add an ethereal quality to your work.
Additionally, Photeeq offers various styles of lens flares, each contributing differently to the mood of your image. Take time to try out different styles, such as classic, cinematographic, or abstract flares, to discover what aligns best with your creative vision. Remember to utilize layers, allowing you to apply multiple effects without compromising the integrity of the original photograph.
Once you are satisfied with the adjustments, be sure to fine-tune other settings such as contrast and saturation. This will enhance the overall visual impact of the lens flare, ensuring it harmoniously blends with the image. Finally, review the composition and make any necessary tweaks to elevate the effectiveness of the lens flare, creating an image that captures attention and evokes emotion.
Common Mistakes to Avoid with Lens Flare
When utilizing the Photeeq Lens Flare effect, it is crucial for photographers to be aware of common mistakes that can detract from the overall quality of their images. One of the primary pitfalls is overusing lens flare, which can result in a distracting or artificial appearance. While lens flare can enhance the visual appeal of a photograph, excessive flare can overwhelm the image, drawing attention away from the subject. To achieve a balanced effect, it is advisable to apply lens flare judiciously, ensuring that it complements rather than dominates the composition.
Another common mistake is neglecting the natural light sources within the image. Flare effects should harmonize with existing light sources, such as the sun or artificial lights, rather than contradicting them. For instance, it’s essential to consider the direction and intensity of light when applying lens flare. A mismatch can lead to visual inconsistency and may confuse viewers regarding the light’s origin in the scene. By aligning the flare with the natural light present, photographers can maintain a more authentic look.
Additionally, not considering the context of the photo can lead to ineffective use of lens flare. Different subjects and environments may benefit from varying levels of flare. For instance, a portrait may require a subtle flare to enhance the mood, whereas a landscape could utilize a more pronounced effect to evoke drama. Being mindful of the intended atmosphere of the photograph will guide photographers in making appropriate choices regarding flare application.
In summary, mastering the use of Photeeq Lens Flare involves avoiding overuse, ensuring alignment with natural light sources, and considering the context of the photo. By steering clear of these common mistakes, photographers can enhance their images effectively while maintaining a cohesive and natural appearance.
Incorporating Lens Flare into Your Photography Workflow
Integrating lens flare effects into your photography workflow can significantly enhance the visual appeal of your images. It is crucial to consider lens flare during the planning stages of your shoot. By recognizing the potential for flare, photographers can intentionally position themselves in relation to light sources, creating dynamic and ethereal compositions. This proactive approach allows for more creative freedom and a deeper understanding of how natural light interacts with the camera lens.
When preparing for a shoot, it is beneficial to analyze the location and lighting conditions. Scout the area beforehand, identifying angles that would capitalize on the sun or any other bright light source. Understanding how various times of day can produce different flare effects will empower photographers to incorporate these elements with purpose. For example, shooting during golden hour can yield a softer, more diffused flare, while mid-day sun might create sharper and more defined beams of light.
Incorporating Photeeq in post-production is essential for maintaining the quality and consistency of lens flare across your body of work. Once the images are captured, using editing software can enhance the flare’s authenticity and ensure that it complements the overall aesthetic of the photograph. Utilizing tools within Photeeq allows photographers to adjust the intensity, color, and sharpness of the lens flare, all of which can help achieve a cohesive visual style. This level of refinement not only enhances individual images but also contributes to a brand’s identity or the photographer’s personal style.
By thoughtfully planning for lens flare and employing tools like Photeeq in post-processing, photographers can create striking images that effectively incorporate this unique lighting effect. This deliberate methodology enriches the photographic experience, ultimately leading to more engaging and memorable visual narratives.
Photeeq Lens Flare Inspiration: Stunning Examples
In the realm of photography, lens flare can be both a friend and a foe. With the Photeeq lens flare tool, photographers have been able to achieve stunning visual effects that enrich their work. Below, we explore several noteworthy examples that illustrate the effective use of lens flare, showcasing the creative techniques employed to capture these extraordinary images.
One remarkable example features a sunset over a tranquil lake. Here, the lens flare is strategically positioned to emulate the glowing sun, casting a warm hue over the scene. The combination of lens flare and soft reflection on the water not only enhances the romantic atmosphere but also draws the viewer’s eye towards the horizon, creating a sense of depth. The photographer used Photeeq’s flare adjustment features to control the light intensity and color, resulting in a harmonious blend that lifts the entire composition.
Another striking instance can be found in an urban landscape photograph. The image captures a busy street scene bathed in twilight, with lens flare emerging from streetlights and building reflections. By utilizing the Photeeq lens flare functionality, the photographer injected a dynamic quality into the scene, simulating how light interacts in a bustling environment. This technique underscores the energy of city life while providing a realistic, vibrant feel that resonates with viewers.
In a different approach, a portrait photograph illustrates the softer side of lens flare. The subject is illuminated by backlighting that creates a magical halo effect around them. The photographer utilized Photeeq to enhance this natural light source, emphasizing the subject’s features while allowing the flare to add an ethereal quality. This delicate balance of light draws on the emotional engagement of the viewer, demonstrating how thoughtfully applied lens flare can elevate a simple portrait into a captivating story.
Each of these examples underscores the versatility of lens flare as a tool for photographers. By harnessing Photeeq’s capabilities, artists can experiment with varying degrees of light and effects, pushing the boundaries of their creative expression. The careful selection and application of these techniques culminate in visually arresting images that inspire both photographers and enthusiasts alike.
User Reviews and Testimonials on Photeeq Lens Flare
The Photeeq Lens Flare software has garnered attention among professional photographers for its innovative approach to simulating lens flare effects. Many users have shared their experiences, providing valuable insights into the software’s strengths and weaknesses. Overall, it seems that Photeeq succeeds in delivering an intuitive and flexible tool for photographers looking to enhance their images with realistic lens flare.
One notable aspect highlighted in numerous testimonials is the software’s user-friendly interface. Photographers have expressed appreciation for the straightforward design, which allows both novices and seasoned professionals to quickly grasp its functionalities. Many users reported a reduction in time spent on post-processing due to the efficiency of the editing tools. As one photographer noted, “Photeeq Lens Flare has simplified my workflow; I can achieve stunning effects in a fraction of the time compared to other software.”
In terms of customization, users have lauded the extensive options available for tailoring lens flare effects to suit their specific artistic vision. Photographers praised the variety of presets and sliders that allow for precision adjustments, leading to diverse applications across various photography styles. However, a few testimonials pointed to a learning curve associated with maximizing the software’s full potential. Some users suggested that additional tutorials and guides might further enhance the user experience.
On the flip side, feedback regarding rendering speed and system compatibility has been mixed. While many users found the software to run smoothly on their hardware, others encountered occasional slowdowns or glitches during extensive editing sessions. This feedback indicates that while Photeeq Lens Flare has appealing features, the developers may need to refine performance aspects to cater to a broader range of systems.
In conclusion, Photeeq Lens Flare appears to be a valuable asset for photographers seeking to incorporate lens flare effects into their work. The overall consensus from user reviews suggests that its accessibility and customization capabilities position it as a noteworthy option in the realm of photographic editing software.
Conclusion: Elevate Your Photography with Photeeq Lens Flare
In summary, the Photeeq lens flare tools provide photographers with a unique opportunity to enhance their compositions significantly. Throughout this guide, we have explored various methodologies for leveraging lens flare effects to create visually stunning images. One of the primary advantages of using Photeeq is its versatility, allowing users to experiment with a range of flare styles, intensities, and placements, ultimately crafting an image that resonates with their artistic vision.
Moreover, the intuitive interface and comprehensive set of features ensure that both amateur and professional photographers can effectively incorporate lens flares into their work. By understanding how different flares interact with light and shadow, photographers can create dynamic scenes that draw viewers’ attention and convey emotions. The flexibility that Photeeq offers enables users to simulate natural phenomena, allowing for an enhanced storytelling aspect within each photograph.
As emphasized in previous sections, mastering the use of Photeeq lens flare requires practice. Photographers are encouraged to set aside time to experiment with varying settings and approaches. By doing so, they will discover which styles align best with their unique aesthetic, thereby elevating their craft and expanding their creative boundaries. The ability to manipulate light and produce captivating visual effects can lead to greater differentiation in one’s photographic portfolio.
Ultimately, embracing tools like Photeeq for lens flare opens up a realm of possibilities, enhancing not only the technical aspects of photography but also its artistic expression. It is a journey of exploration and creativity that every photographer should consider undertaking. By integrating these innovative effects into your workflow, you will likely find new ways to capture and communicate the beauty surrounding us. more info